If you've been following my blog for any time, you probably know that I like to take my beading and jewelry making to go. Mostly, that means to my kids baseball and softball games - but it also means to various parts of my house.
I'm always trying different ways to take my beading with me - from how I store my beads to the dishes I put them in when beading to the work surface.
This post is about my portable work surface, or beading tray. One that I made myself, of course.
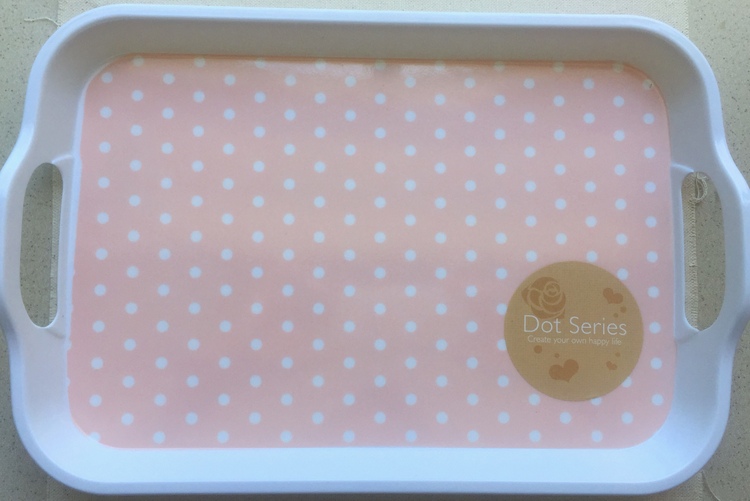
I especially like the handles and that it isn't too deep or too large. It fits in my beading bag right next to any books or magazines.

Then, I decided it needed some padding, so I chose some children's craft foam in the ugliest color possible. Actually, I didn't try for the ugliest color possible - it just turned out to be the package of craft foam I had was all not very attractive colors. No matter, it will get covered.
I like the foam because it pads the surface which keeps beads from rolling, but more importantly, I can stick my needle into the surface. It is just thick enough to keep the needle in place.

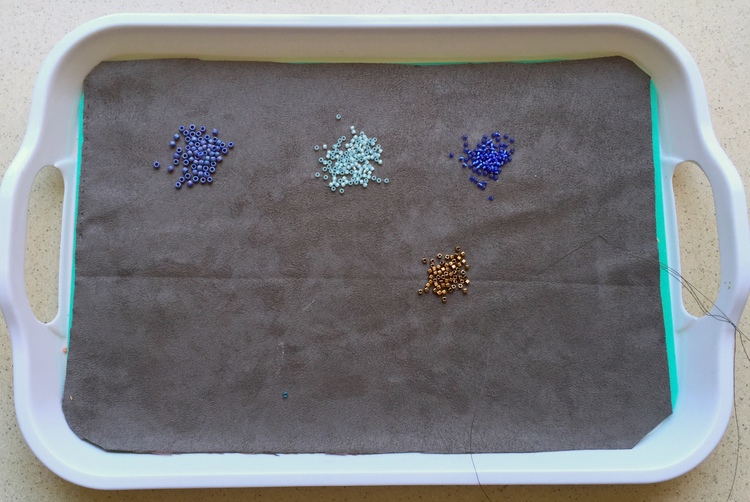
Originally purchased as a bead embroidery backing, this is not the very thick ultra suede, but a cloth that is somewhere in the middle. It is definitely thick enough to be used as a bead embroidery backing, but not as thin as many cloths.
Most of all, it has a slight nap that keeps the beads from rolling, is soft to the touch and doesn't catch on the needle when you pick up beads.
Oh - and I already had it onhand.

So, there you go. My current incarnation of a beading tray. I am still considering a bead on it board, but since my total expenditure for this tray was $1.50, I think I'll have to save for a little while longer.

Here's something else I discovered recently when I was updating the peyote Russian leaves tutorial. Unlike most designs, where you add a stop bead to the end, Russian leaves are started from the middle and then you work one side and then the other. This means you have an extra long tail as you are beading the first side of the leaf - and as you can imagine, it gets wrapped around anything and everything!
I found these PVC rubber cord holders, shaped like fish, at Fire Mountain Gems. You can also find similar fish bone cord holders at Amazon. On Amazon, they are sold for the phone earbuds, and at FMG they are sold for kumihimo or macrame cord.
I decided to try them with my Fireline thread and it works perfectly. It was great to have the extra half of the beading thread out of the way with no chance of tangles.
Since buying these, I also use them to keep long tails of cord when I'm done with projects. I hate to throw out longer pieces of beading thread and I usually try to throw it in a box (yeah - that sounds like a good idea, doesn't it!).
It's not a good idea. It's always tangled and I rarely use the pieces. This way, I can organize the extra beading thread by color or size and it doesn't get knotted. These are very handy little fish!

Want to see more of my projects? Subscribe or follow me one of these ways:
By email: You can sign up by providing your email and you will be notified of new blog posts plus special offers. Make sure you confirm your subscription request by clicking the link in the email.
By following me on Pinterest: Lisa Yang Jewelry on Pinterest
By subscribing on YouTube: Lisa Yang Jewelry on YouTube
And Instagram: @lisayangjewelry
Comments
Post a Comment