These coiled hoop wire earrings may be my new favorites - favorites to make and to wear.
It's always fun (and challenging) when making wire jewelry to let things be loose and not make everything match exactly. Especially when you are making earrings! I'm so used to trying to make earrings be carbon copies.
Making these wire hoop earrings follows the same basic steps as the tutorial for the small coiled hoop earrings I made - except those were very neat and tidy. This is the freestyle, relaxed, let your hair down version.
To make the loose messy version of coiled wire hoop earrings, you will need the following tools and materials:
(this section contains affiliate links which means I may earn a small commission if you purchase an item using these links):
- (2) 12 inch pieces of gold colored wire (I used natural brass wire)
- Wire cutter
- Six Step Bail Making Pliers or a 5mm diameter mandrel
- Thin Flat Nose Pliers or Chain Nose Pliers
- Round Plastic Step Mandrel or other mandrels from 1/4 to 3/4 inch in diameter
- Metal file or Emory Board to file the wire ends
- 2 earring backs
- Rotary Tumbler with Assorted Stainless Steel shot (Optional)

To make a neat wire coil, you want each wrap to line up with the prior wrap. In this case, I purposely left gaps and even overlapped the wires a couple of times. I still kept the wire wrapped tightly around the mandrel though, because I wanted them to stay round. To avoid running out of room, wrap the wire around the mandrel towards the pliers handles (refer to the tight coiled hoop tutorial for pictures).
Stop coiling when you have a little less than one inch of wire left (about 3/4 of an inch). This last piece of wire is going to be used for the earring post for the hoop.

Bend the wire tail straight up from the coil using flat nose or chain nose pliers. Then elongate the wire coils to about 2 inches long by gently pulling on either end and separating the coils with your fingers.
The goal is to stretch out the coil as evenly as possible without making it perfectly even. (does that even make sense?)

Use the round plastic step mandrel to shape the coil into a hoop. I tend to start at the very small steps (like the ones numbered 11 and 12 in the picture above) and start shaping the ends around these small steps. Then I move to the larger steps to get the center of the coil rounded into a hoop.
The finished hoops fit snugly on step 9 of the mandrel, so I start with the smaller sizes and then shape it to fit snugly on the size 9 step. It helps to adjust the spaces between the coils to keep the shape round.

Once you have one hoop shaped, repeat with the second coil.

When you are satisfied with the hoop size and shape, trim the wire posts to 3/8 inch long (or whatever length is comfortable for you).
I have two hints for shaping the wire coils into earring hoops.
First, leave at least one full coil of wire next to the earring post. This helps support the earring structure when you putting on the earring back and prevents the hoop beyond the earring post from sliding into your ear.
Likewise, leave a full coil loop on the other side of the hoop, rather than stretching the last coil out. This helps keep the hoop balanced so it doesn't suddenly get skinny on the ends. Plus it helps hide the cut end so it won't scratch you or get caught on anything (a scarf or jacket).

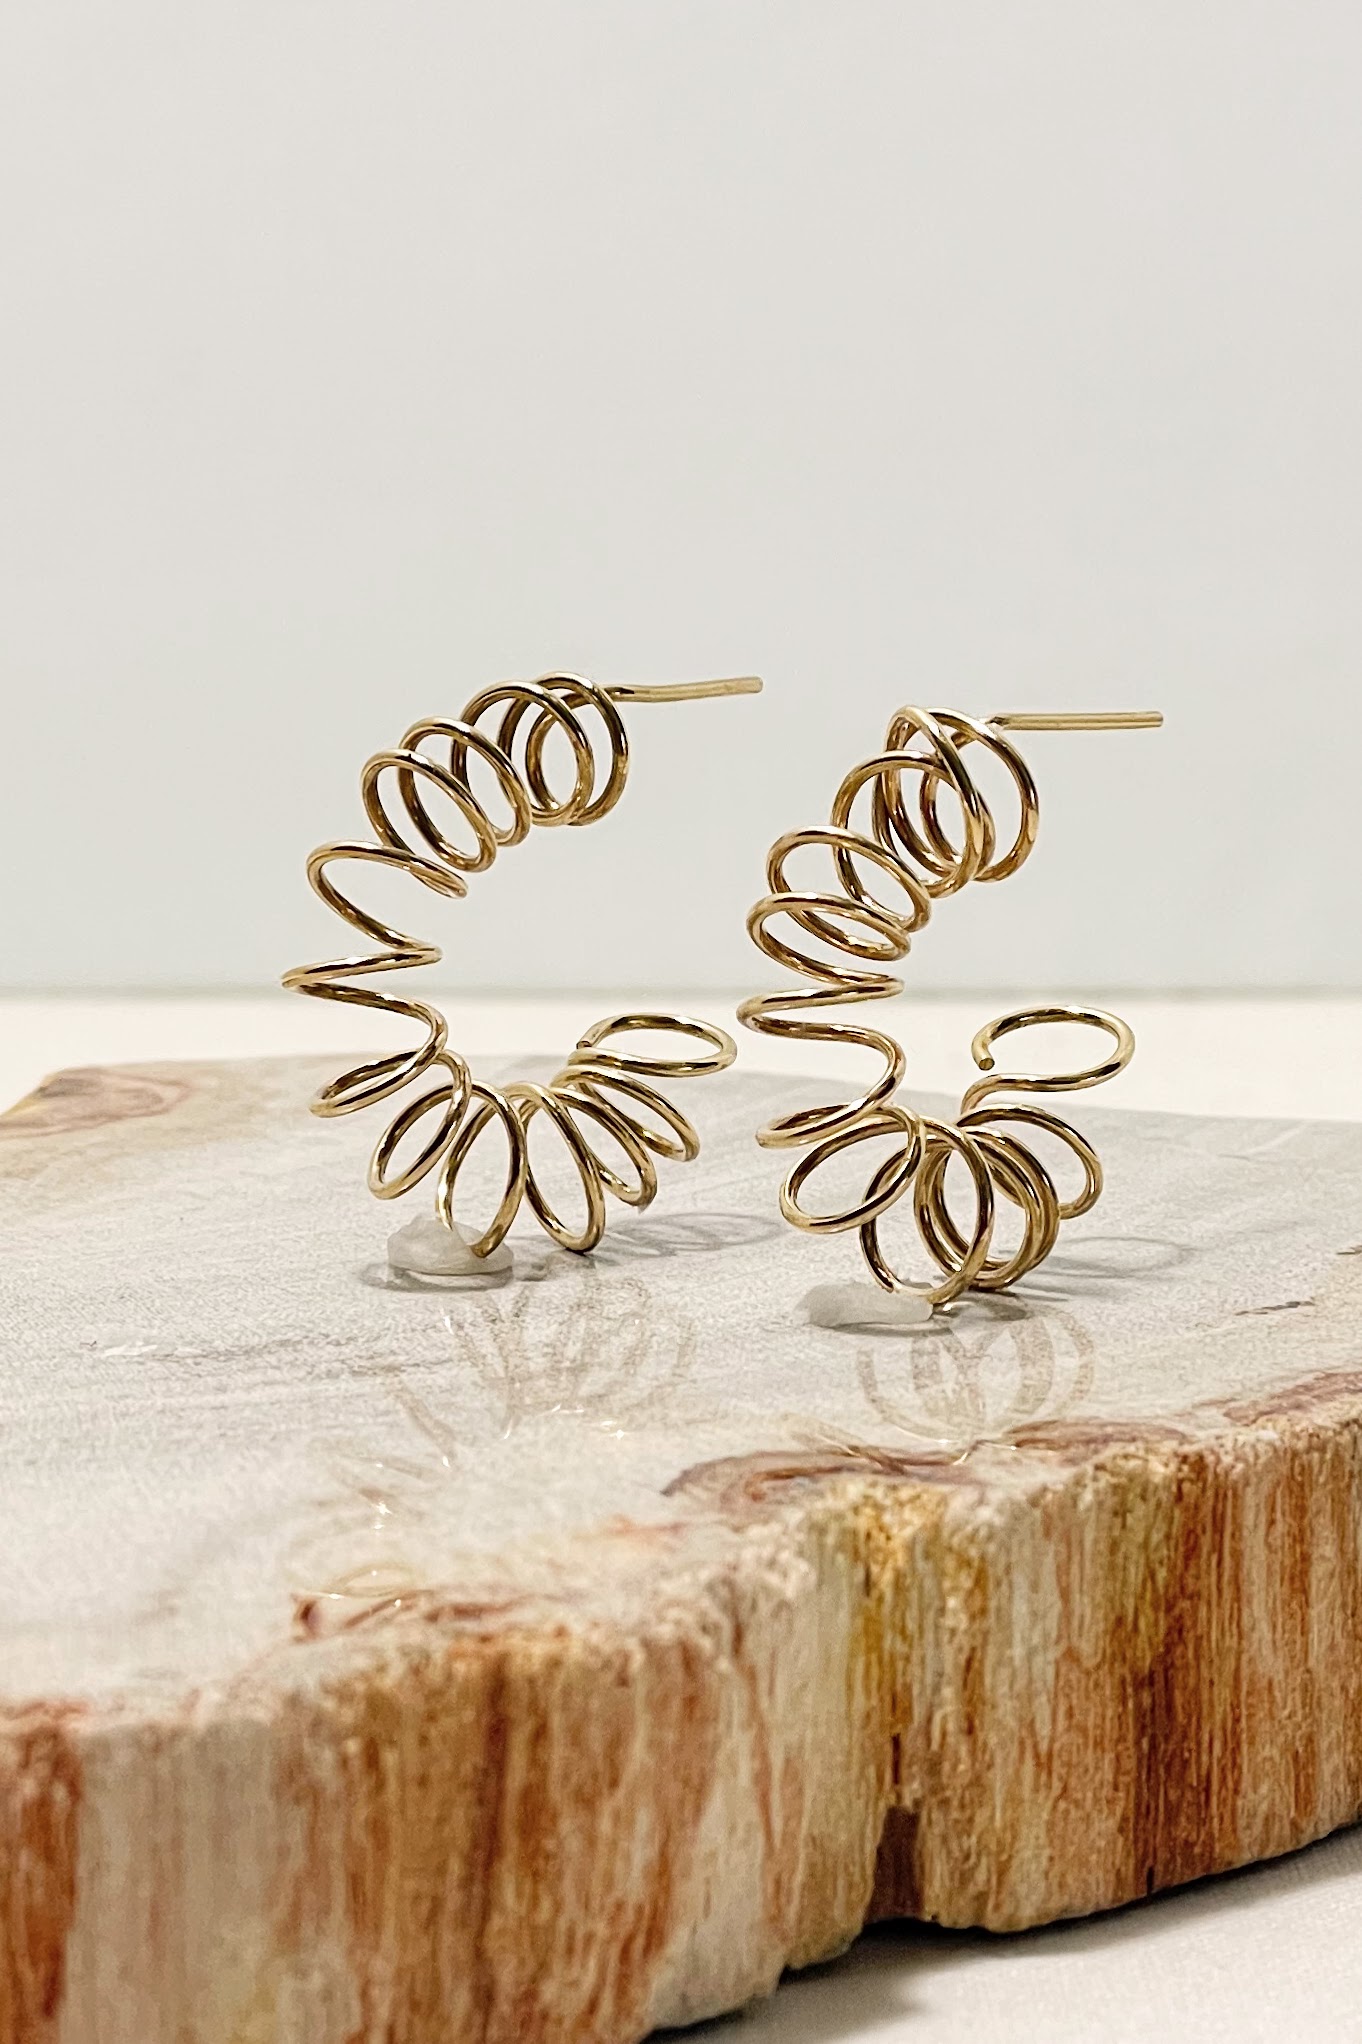
Add an earring back and your new handmade hoops are ready to wear! The finished hoops are about 1 inch in diameter.

Note that both these hoops and the tighter coiled ones were made on the same step of the round plastic mandrel and the inner diameter of the hoops are the same. The loose coiled wire hoops are larger because the coil was 5mm where the neat tight coiled hoops are a 2mm coil.

It can be a little difficult to see how cool the loose coiled hoops are in pictures. This picture does a pretty good job of showing the structure from a front and side view of the hoops.
Because I used uncoated brass wire, I decided to add the completed wire hoops to my rotary tumbler for an hour to harden and shine them.
I'll write in detail about how I tumble my handmade wire jewelry in the near future, but the summary version is this: I use about 1 pound of stainless steel shot in a harbor freight rotary tumbler with warm water and a drop or two or dawn dish soap. I let it tumble for at least an hour. They come out shiny and the wire is harder.
Tumbling wire jewelry does a few things:
- it work hardens the wire
- it polishes the wire
- it removes any sharp edges on cut ends

I like these new wire hoops enough that they've been added to my jewelry collection too. I mean, someone needed to test wear them (and I can make more!)

I would like to incorporate some beads into the coiled hoop designs, but so far haven't found a design that really works for me.
What are your thoughts?
Do you prefer the messy loose wire coil hoops or the neat and petite wire huggie hoops?
Do you like any of the other coiled hoop prototypes in the picture? Let me know in the comments.
Do you want to get new projects via my Newsletter? Add your email and be sure to opt-in by checking the box on the form or replying to the email verification (check your spam).
Comments
Post a Comment