In any event, I am trying to learn. I watched a free micro torch soldering tutorial on Craftsy earlier this week and decided I really wanted to give it a try. I started crafting when I was in high school by making stained glass - so I don't feel intimidated by soldering, but I'm used to
a soldering iron, not a torch.
First, I went shopping and bought a spool of 14g copper wire in the electrical department of Home Depot. Armed with some medium paste sterling silver solder, a torch and miscellaneous other supplies, I was ready.
Ta Daa!

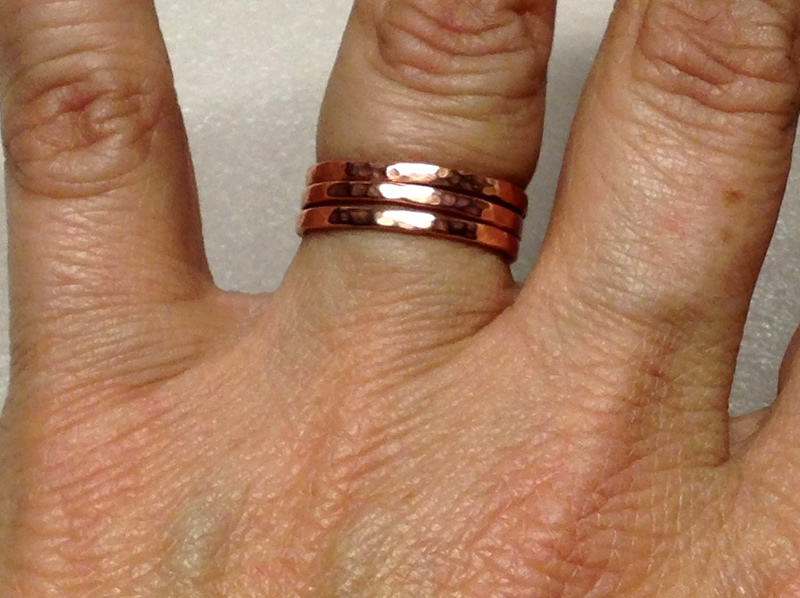
I made a nice stack of 5 hammered copper rings just like Kate Richbourg does in the video!
It was pretty easy, but took a lot longer than I expected. Also, even though I tried to follow all of the steps like she did in the video, my rings just didn't come out quite as nice. I tried to get my ends even, but I had difficulty judging what the right amount of solder was. Actually - I think I only had one ring (maybe two), whose join was solid and smooth after my first soldering attempt. One didn't join at all, and two others didn't have enough solder, so there were gaps. Luckily, I just tried again and added more solder until they joined the way I wanted.
 The picture on the left is of my best seam - which I thought was really impressive until you look at it this closely! It is smooth and there is not a lot of extra solder. Some of the other rings have a wash of silver on either side of the seam.
I wish I had some other hammers so I could have some different texture patterns. I tried to make some rings flat and some round and dimply, but I'm not sure you can really tell the differences.
All in all, torch soldering the copper rings was a fun experiment and I am going to try to improve.
I signed up as an affiliate on Craftsy, and as a thank you, they sent me a coupon code for one free class valued up to $49.95. That's a nice bonus! I am torn on which one to take, but I think it will be Metalsmithing at Home, also with Kate Richbourg. I thought she explained things really well and gives a lot of useful tips. I am also tempted to learn something new, like crocheting or knitting, but I don't really have time for that (or room for any other craft supplies!)
I'll keep you posted!
Here's a tutorial to making these same stacking rings using fine silver and fusing. (I'm adding this to my list of 'things to do').
ReplyDeletehttp://www.fusionbeads.com/Making-a-Textured-Fine-Silver-Ring
Very cool, I think they turned out very nice. I bet you will be a soldering pro in no time! I'm still scared of fire :)
ReplyDeleteI made more rings this weekend and they came out much better. I'll continue to work on them - but now I need to figure out what to do with all of these stacking rings!! I made some other sizes and hammer patterns.
DeleteSounds so simple,i must try this!Thanks for posting!
ReplyDeleteI want to do the Soldering at Home course too... look forward to it being on sale again soon!
ReplyDelete