Beadwork made with St. Petersburg stitch tends to look complicated. It does have several different steps, but once you get the hang of it, St. Petersburg stitch is actually easy and makes a nice beaded chain quickly. St Petersburg stitch is typically used to make bead chains, but I have also used it to around a wire frame and it's very pretty!
There are two well known variations, Single St. Petersburg chain (above) and Double St. Petersburg chain (below). They both use the same technique with the double version connecting a second chain using the middle beads. I will publish a tutorial for double St. Petersburg stitch in the future. I love how it makes a chevron or feather shape.

This tutorial will show you how to make the single St Petersburg bead chain.

To me, a favorite quality of St Petersburg stitch is that it works with a wide variety of beads - with each bead combination giving the stitch a different look. St. Petersburg stitch is often done with two different beads, a body bead and end beads. By changing the end beads, the stitch can take a lot of beautiful turns since you can use drop beads, crystals, or whatever else you have in your bead stash.
I like to use a fishing line type of thread such as FireLine or Wildfire beading thread since the chain made with St Petersburg stitch is very flexible and the thicker thread gives it a little more body and makes it less floppy.

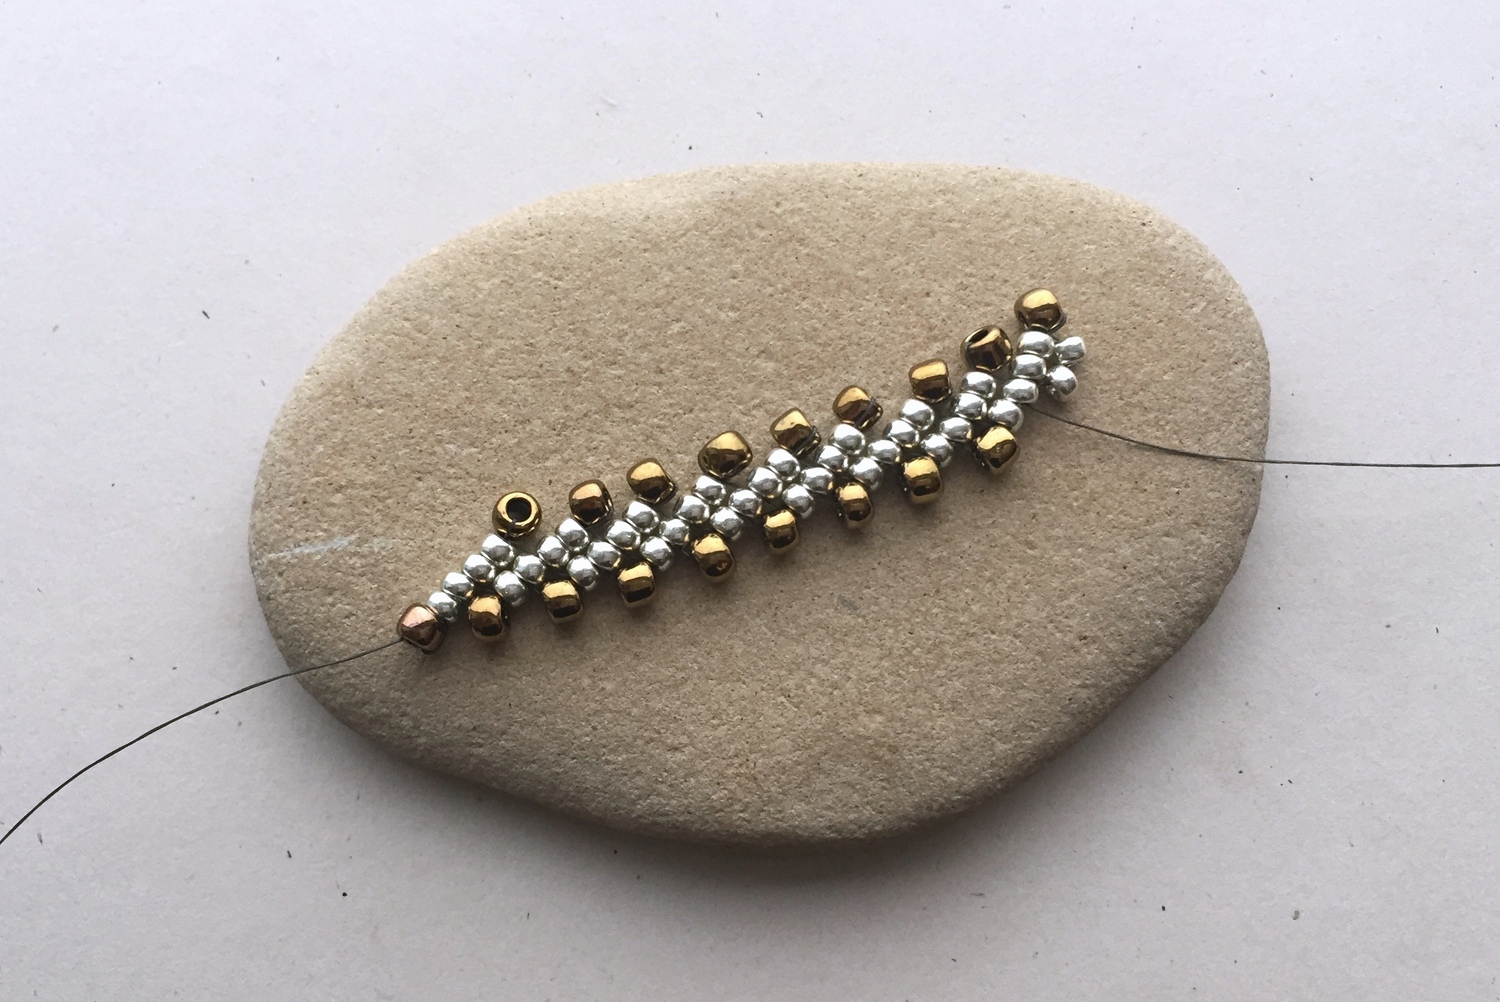
For this tutorial, I used the following materials:
- Size 8 silver beads for the body (center)
- Size 6 bronze beads for the end (turn) beads
- 8 lb FireLine in Smoke


Pick up one of the end beads (bronze size 6 bead) and go back through the last three beads in the row. Bring your needle out underneath the two bead loop from the prior step. Make sure the thread is taut and there are no gaps between the beads.
At this point, you have completed the first row of St. Petersburg stitch, and there
are two body beads in place for the second row.

Pick up another end bead (bronze size 6) and stitch through the two body beads to secure it in place. This is the inside end bead and would be the center beads in the chain if you were making a double St. Petersburg stitch chain.

Pick up four more silver body beads and stitch back through the first two to make a small loop. Make sure you push all of the beads close together and arrange the beads into a small 2x2 square like in the first row.
From this point on, you will continue the previous steps of adding an end bead (outside turn bead), stitching through the three beads in the row and coming out under the two stacked beads. Then you will pick up another end bead (this is the inside end bead), stitch through the two beads that are sticking out from the prior row, pick up four more body beads, stitch through the first two to make a stack, etc.

To learn St. Petersburg stitch, it is easier to work with larger beads, like the size 6 and size 8 beads being used here. Also, round beads are a easier to work with and look neater than cylinder beads, but I have seen beautiful projects with all different types of beads, so don't be afraid to experiment.
One tip to make the St Petersburg stitch more quickly. When adding the four body beads, hold the first two beads between your thumb and index finger and slide them down to the bead chain. When the beads are close to the chain, insert the needle back through these two beads and make the four bead loop. Then, slide the loop down next to the beadwork. To me, it is easier to put the needle back through these two beads if you keep a hold of them and then push the group of four beads next to the chain.
When the chain is finished, you may want to turn the end beads using your needle to make them all face the same way. It's not required, but some people like all of the beads to be facing the same way.


Comments
Post a Comment