Looking to make something creepy to dress up your Halloween outfit? Then these instructions on how to make a beaded spider is the tutorial for you.

I used the following materials to make two matching spiders for earrings:
- (2) 12x8 mm black crystal drop for the rear body section
- (2) 6mm black glass faceted bead for the head
- around (60) size 11 Toho triangle beads for the legs (any seed bead sized beads will work)
- 10 inches of 22 gauge copper wire for the body wire and for the web thread
- 24 inches of 24 gauge copper wire for the spider legs (more for longer legs)
- 2 earring hooks
You will need basic wire wrapping tools to make this project - including a chain nose plier, six step or round nose pliers and wire cutters.
The first step is making the spider legs. In case you don't stick around long enough to get a close look, spiders have eight legs.

To make the spider legs, cut four equal size pieces of wire at least 3 inches long. Using round nose pliers and working with the four wires as a group, fold the wire for the legs around the pliers in the middle until the wires pass each other. Twist the groups of wires around each other at least one full twist to keep them twisted together. If you have step pliers, the smallest 2 mm barrel works great to wrap around because of the longer even sized barrel.

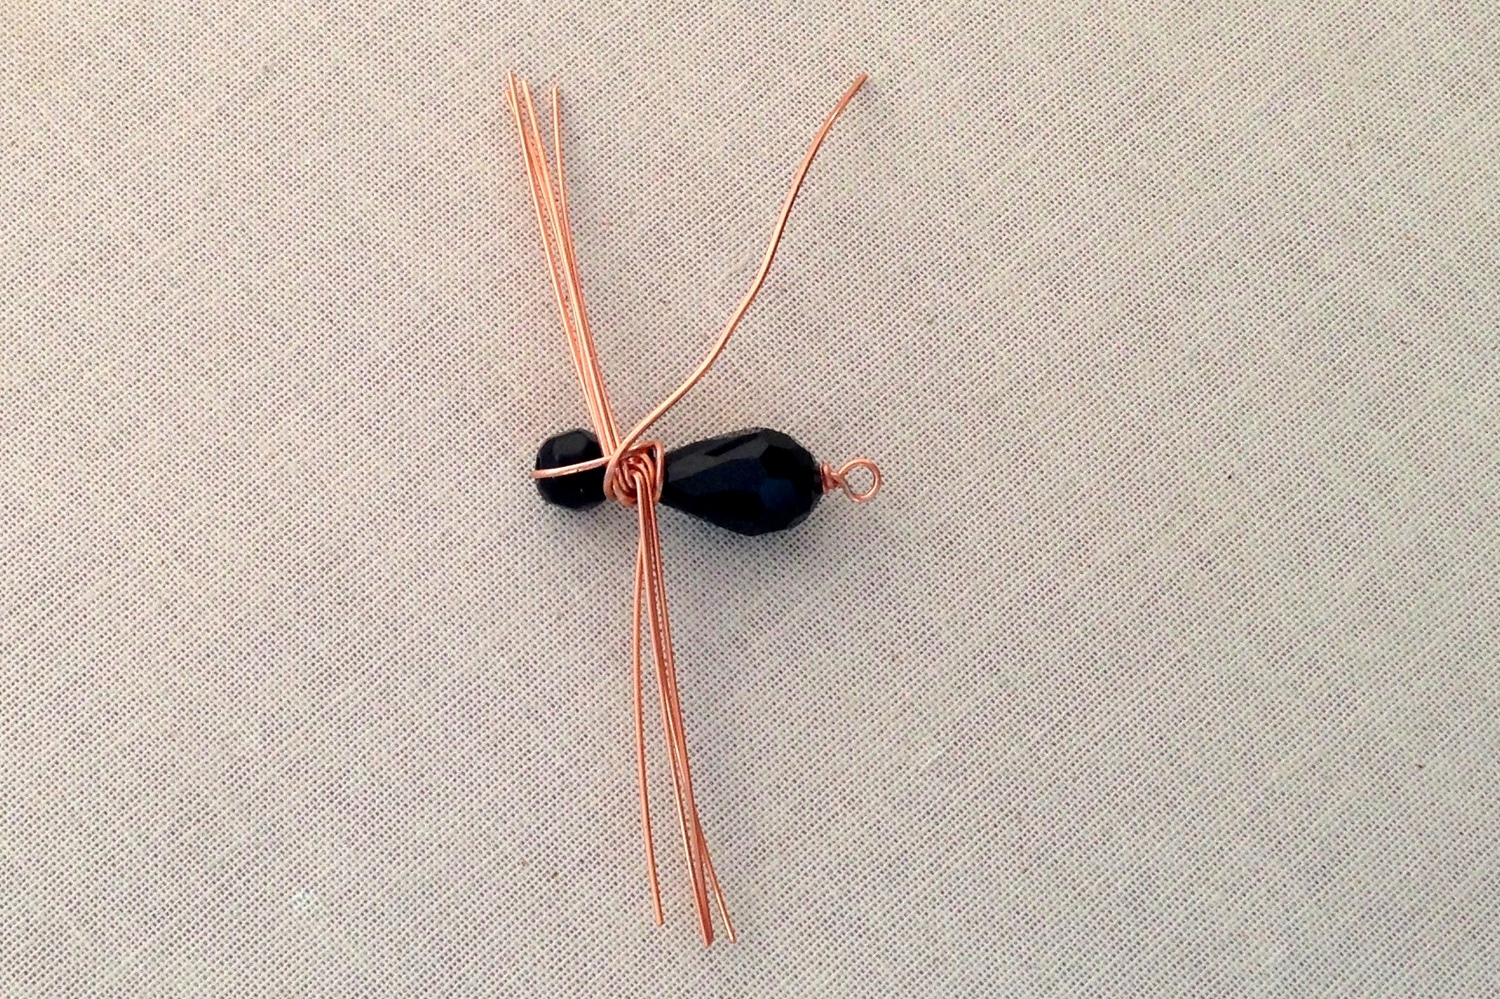
Cut a 4 inch piece of 22 gauge wire and make a wrapped loop on one end. Trim and tuck in the tail from the loop. This loop will be used to attach the spider to other components.
Add the drop bead, the wrapped wires for the spider's legs by putting the wire through the center loop and then the round head bead.


Repeat this process for the next 7 spider legs. I used triangle seed beads for this spider, but almost any beads will work. Spider legs look really good with short bugle beads separated by different color round beads. Adjust the leg bends to make the spiders as creepy and crawly as you like.


You can add the spiders directly to earring wires or make a piece of web silk for the spider to dangle from. Using a 3 inch piece of 22 gauge wire, make a wrapped loop, and add beads.

Make a second loop and then thread on the spider before wrapping closed. If you prefer, you can use simple loops and then it is easier to attach the spider component. Adjust the length of the wire based on how long you want the earrings to dangle. Attach to hook earring wires to complete.

Repeat these steps to make a second earring.

Beaded spiders make unexpected and great pendants too! Enjoy!
Want to know when I post new free projects and tutorials? The ONLY reliable way is to sign up for my new email newsletter.
You can sign up by providing your email and you will be notified of new blog posts plus special offers. Be sure to reply to the email confirmation or you're sign up is incomplete (check your spam folder).
By liking my page on Facebook: Lisa Yang Jewelry on Facebook
By following me on Pinterest: Lisa Yang Jewelry on Pinterest
By subscribing on YouTube: Lisa Yang Jewelry on YouTube
And Instagram: @lisayangjewelry
Comments
Post a Comment