However, knotting between beads, like many other jewelry making techniques, has several variables to consider and takes practice to get it right. Luckily, there is an easy way to knot that doesn't require practice or skill or special tools to get great results.
You also don't need to knot between every bead. Sometimes it makes sense to add a knot every few beads on the strand just in case a necklace breaks - all of the beads won't be lost.
This bead knotting technique does require bead thread with the built-in wire needle. This thread is typically silk - but it also comes in nylon. The cords on the bottom row include a built-in wire needle - the ones on the top row do not.
For 'standard' pearls, if there is such a thing, I use a size 2 cord for this technique since it requires a doubled thread to go through each bead. For other bead knotting techniques, I use a single thread and a size 4.
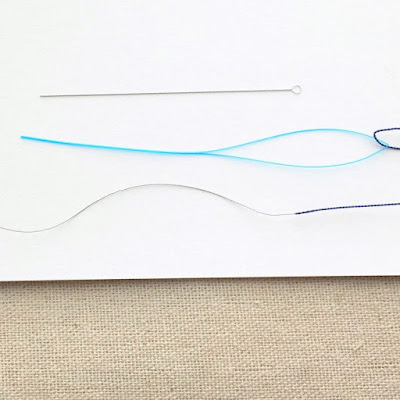
You will also need a second needle. Any needle that fits through the beads will work, but I tend to use a flexible beading needle. When I don't have a collapsible eye flexible beading needle, I sometimes use dental floss threaders that I get for free from my dentist. They work great for simple stringing. And they have the advantage of lasting a long time. I ask for a pack every time I get my teeth cleaned, so I will never run out.
Below is a collapsible eye needle, a dental floss threader and the built-in wire needle on the silk cord.
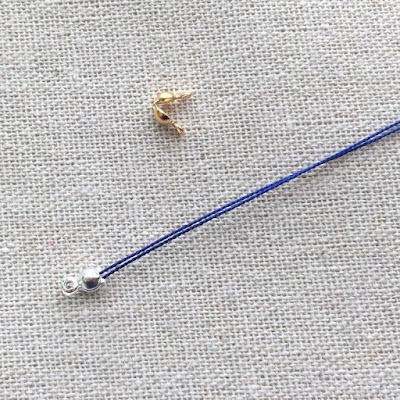
You may also need clam shell bead tips, or whatever other method you want to use to attach your clasp. I planned to make a necklace, so I attached the bead tip about 25 inches from the non-needle end of the cord. To do so, I tied an overhand knot and added a cylinder bead on one side of the thread before threading both beads through the opening in the clam shell. The bead is inside the clamshell and keeps the knot from slipping through the hole.
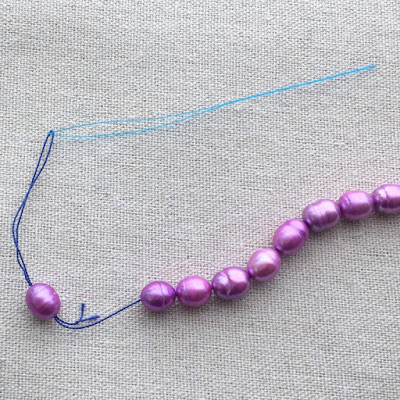
Using your flexible needle on the shorter end of the thread, add the beads onto the cord. This will tell if you are using the correct size cord. If the needle and doubled thread fit through comfortably - all is well. If it is tight, you are better off starting again with a thinner cord.
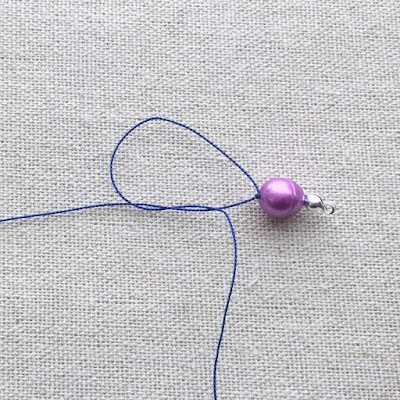
I like to keep at least some of the beads on the doubled portion of the thread as shown in the picture below. This keeps the needle from sliding off the thread, so I don't need to keep finding it and threading it again to add new beads.
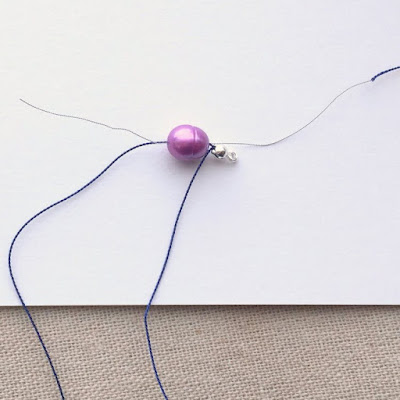
Slide the first bead down to the clam shell bead tip. Using the built in wire needle, put the second side of the thread through the bead. It helps to hold the thread tightly around the bead to push it out of the way. I have a video tutorial that you can see at the link or is also available at the end of this post.
Pull the thread through the bead. Tie the first half of a square knot and pull the half knot tight against the bead. It should not slide inside the hole of the bead. If it does, you need a larger size thread.
Tie the second half of the knot and pull tight. That's all there is to it! No need for a beading awl or special tool. Each knot is automatically pressed tightly against the bead.
Finish the strand by adding a final knot and then a bead clam shell and another delica to keep the knot from sliding through the hole in the bead tip.
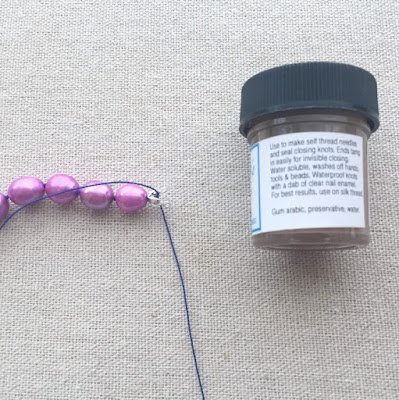
To seal the knot, I used something new - Henrietta's Gum Arabic Beading Glue. I've never used this before, but it looked interesting.
The reason I bought it was not for sealing knots though - it was because I read that it can be used to make 'glue needles'. That means you can use it to stiffen your thread enough that it can be used as a needle for stringing beads. The picture is a little fuzzy - but you can probably make out the instructions in the photo. You can click on the photo (any photo!) for a larger view. I used a toothpick to dab some on the knot. I haven't tried making a glue needle yet.
I doubt the needle will be strong enough for this type of a project, but I think it could come in handy when you want to string beads but can't fit a doubled cord through the bead so you can't use a needle or you are not using silk cord with a built in needle.
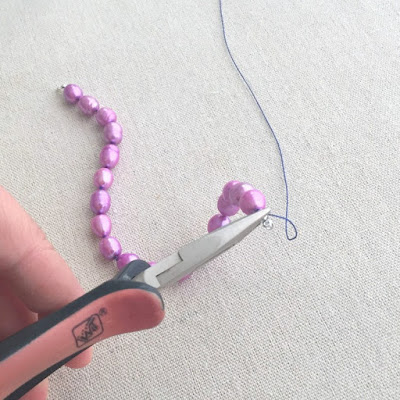
Use flat nose pliers to close up the clam shell bead tip, add your clasp and you are done! Make sure you save the side of the cord with the built in needle. There should be plenty left to make at least one or more projects. If you still have it, wrap it back around the cardboard it was originally packaged with.
Here is the video version of the tutorial. I always recommend viewing videos on YouTube since you will get the full screen version and it will be easier to see. If you start playing the video here and then click on the word YouTube, it will automatically take you there.
I tried several other tools for knotting and this is the easiest method, but I will do some future posts about them various tools too.
Until then, you can keep up with my latest posts by going to the Sign Up page and following me on social media.





What a neat idea! I could never make a knot so close to a bead before! This is very helpful!
ReplyDeleteThanks for this great and easy technique! Your results are beautiful as are the pearl beads you selected for this project. You've inspired many people to use this method and also get professional looking results!
ReplyDelete