Put a ring on it
I love rings.
My jewelry blogging life didn't start here at Lisa Yang Jewelry, it started at Make Wire Rings - where I still have many design ideas for wire rings.
Today's rings were inspired by this picture on Pinterest.
It's a simple wire ring with a turquoise bead dangle. The link to Etsy no longer works, but I still admire the simplicity and versatility of the ring.
Here's my version with a pink freshwater pearl.
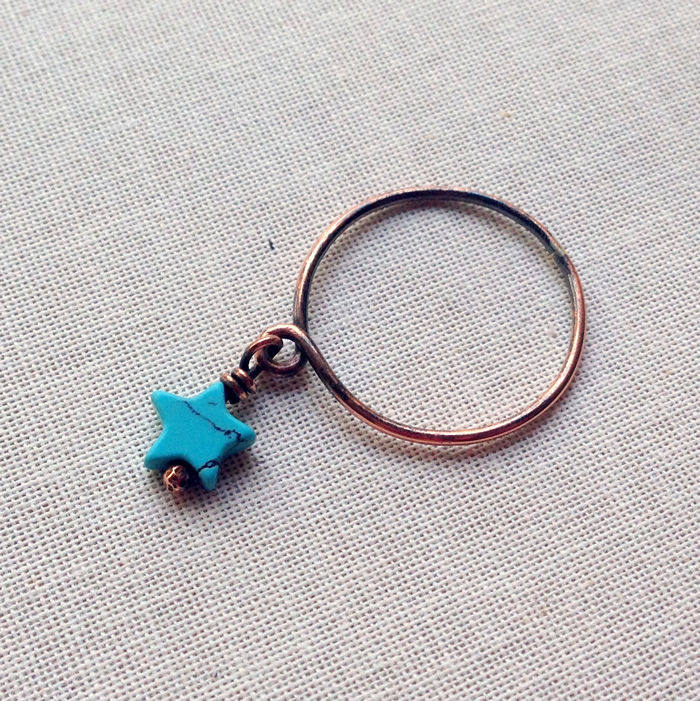
And another version with a turquoise star bead dangle. When I made this ring, I was learning to solder and make stacking rings, so my first attempt at a dangle ring was soldered.
Both are easy to make, but today I'll show you how to make the wire wrapped version.
Materials:
4 or 5 inches round wire - I am using 18g red brass
1 bead and headpin or ball pin per dangle
Start by making a loop at one end of your wire. Be sure to file the end smooth first.
Wrap the wire around your mandrel, about 1/2 size smaller than you want the finished ring to be. This is not an exact science since some people wrap tighter than others. Make it smaller rather than larger since you can always hammer the band on the mandrel to make it larger.
Make sure the loop is vertical and pressed against the mandrel so the ring comes out round.
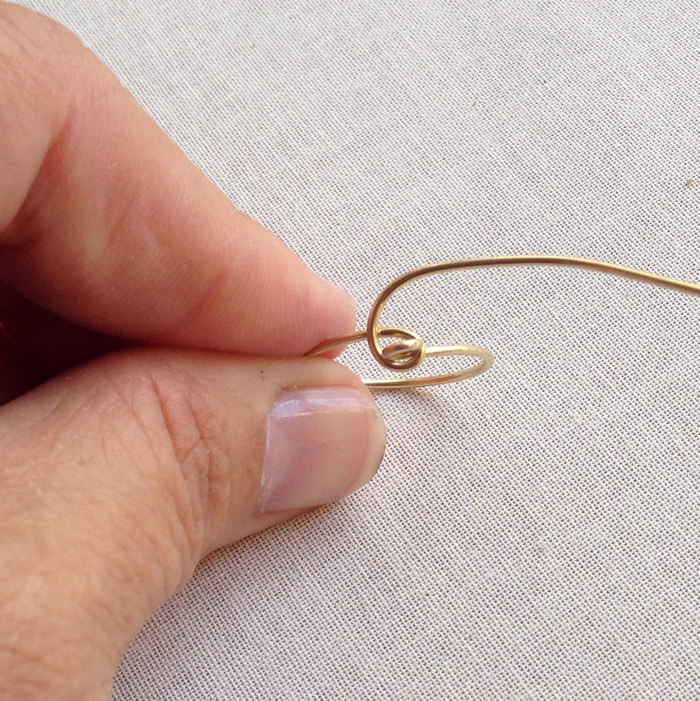
Wrap the tail around the loop. This will secure the ring. Try to wrap it tightly so the loop you are making is fairly tight and round-ish.
Remove the wire from the mandrel. It will look like the picture above.
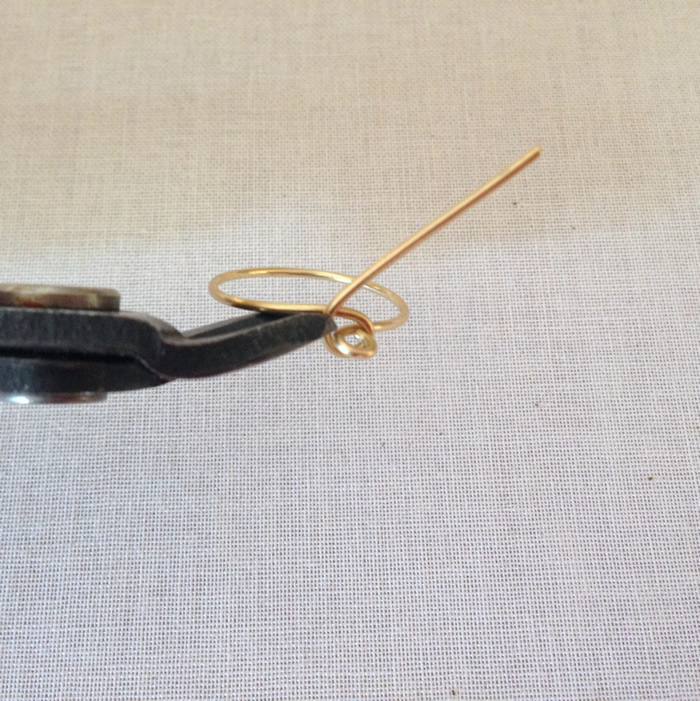
Trim the wire from the inside of the loop so the flush cut will press against the band. I file the cut end with an paper nail file (emery board).
Squeeze the loop closed against the band.
The finished ring band, ready to add dangles.
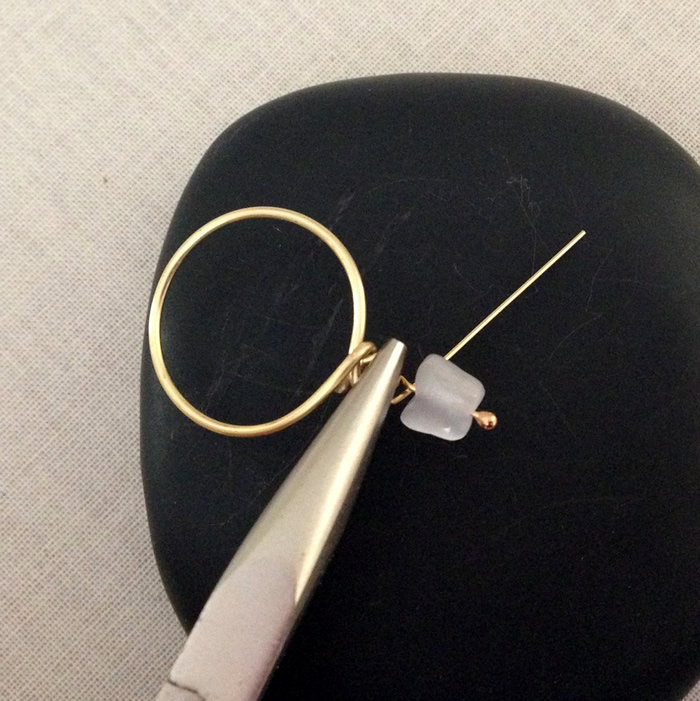
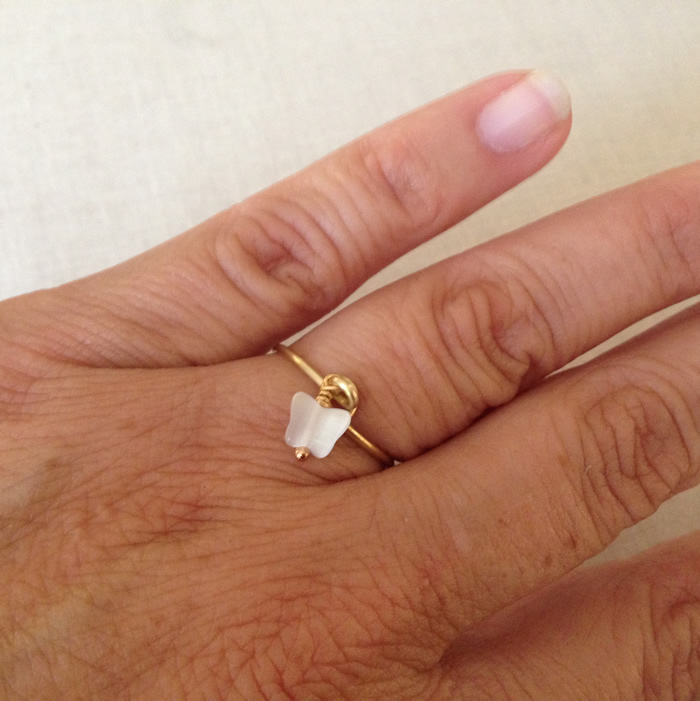
Make a dangle using a headpin. I am using a pretty white glass butterfly bead.
Make sure you slide the headpin on the loop before you wrap it closed. Try to keep the loop small and the wrap tight and small - this keeps the dangle closer to the ring, which I think makes it look a little nicer.
Try it on! I like it - but sometimes I add more than one dangle.
So I added a glass star too.
Here's my happy little group of rings. I tend to use simple shaped beads for these and when I wear them, stack them with plain bands or wear them alone. The pearl one is my go-to ring.
I sell a lot of these at my holiday home shows and for party favors for sweet 16's. I also make them with birthstone colored crystals in addition to the cute shape beads and pearls.
Looking for a ring with a little something, something more?
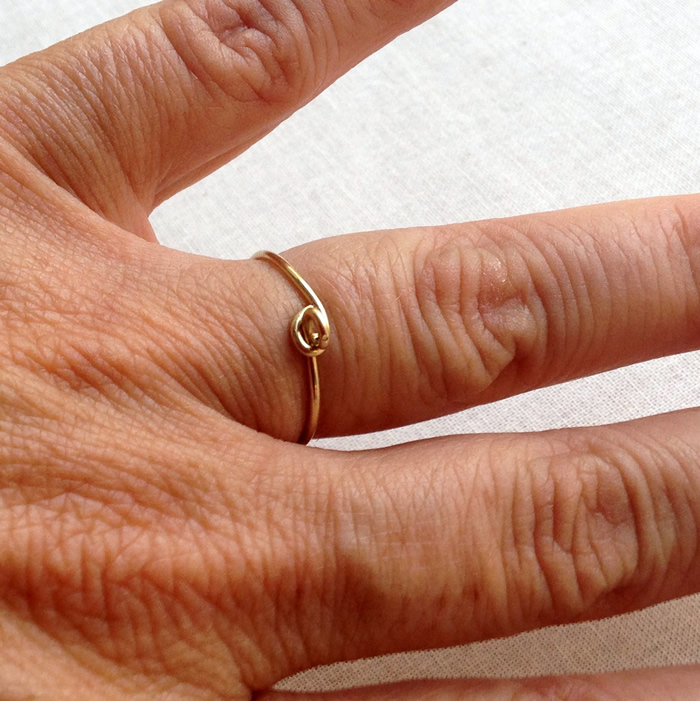
Try this style with a swirl / rose/ knot base around the dangle.








Wow! Thanks for sharing.
ReplyDeleteThank you so much for sharing! Love these sweet rings! Wearing some right now!
ReplyDeleteSo Cute! Loving your tutorials!!
ReplyDeleteWow truly enjoy your tutorials. Thanks for sharing your talent <3
ReplyDeleteFantastic! Thanks for sharing. :)
ReplyDeleteBeautiful ring. I will try it according to this DIY tutorial.
ReplyDeleteThis comment has been removed by a blog administrator.
ReplyDelete